All About the STL File Format for 3D Printing
An STL file can be created by following the steps below.
1. Open TinkerCad or SketchUp, Depending on Your CAD Application of Choice.
Creating an STL file starts with CAD software, of which there are a lot of options available. There are STL files made just for beginners and those made for professionals. Depending on one's level of expertise, there are a variety of STL files to suit one's needs. Starters or beginners can go for TinkerCad or SketchUp because of their relatively simple, user-friendly interfaces. Engineers and artists alike may go for Autodesk Inventor and Blender, respectively. While some programs require payments, TinkerCad and SketchUp are free. All the user needs to do is to create an account and start—straight up—though after a good understanding of either program’s functionality.
2. Create the Model or Design With the Tools Provided by Your Software.
Once a suitable software application is downloaded, prepare the workspace. Check and familiarize yourself with the tools provided. Some tools, when used incorrectly, show an error message. With the chosen tool, an axis can be sketched and a basic 2D model drawn. It must be noted that understanding and accepting the terms and conditions of the software's cookies ensures a complete and enhanced experience.
3. Save and Export Your Design to Your Computer, After You’ve Finished.
The STL file created on the CAD software can easily be exported to the computer through the autosave feature. With this, downloading becomes unnecessary. Its purpose is also to ensure that the work remains intact. Exporting a 3D printer STL is not difficult. Locate "export" on the software's page and click on it. A box should pop up containing several options. Most software will present the user with any of these: standard triangle language, standard tessellation language, or stereolithography. They are all valid and should be chosen as the case may be.
It is important to note that all these conditions must be satisfied before exporting the file for the best result:
- Check the file or model for uniformity
- Check for holes in the mesh part
- Alter the dimensions or adjust the scale if so desired
4. Select a Slicer Program. Cura is a Good Starting Point.
Compared to other slicer programs, Cura is beginner-friendly and comes with a navigable graphical user interface (GUI). It is made by Ultimaker and is a popular software for beginners and professionals. Its function is to slice a 3D model STL file and translate it to a form that the 3D printer can interpret.
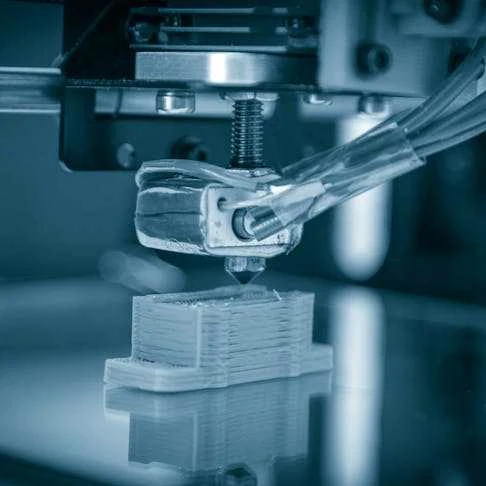
5. Open the File and “Slice” It to a G-Code File Using Your Preferred Slicing Tool.
Essentially, a G-code is a language the printer can understand and process. This is where the slicer software comes in. It does the work of transforming the STL files to a form the printer can understand and use to print the part from the model created.
.webp "All About the STL File Format for 3D Printing")


